How to Level a Flat Roof: 5 Essential Steps for Success
Look, after 23 years of leveling existing flat roofs across Queens, I can tell you that most flat roof problems come down to one thing: poor drainage. When water pools on your roof instead of flowing to the drains, you're looking at leaks, membrane damage, and structural issues down the road. Here's the thing - learning how to level a flat roof isn't rocket science, but it requires the right approach and materials.
I've seen too many DIY disasters on Northern Boulevard and Astoria rooftops where homeowners tried to tackle this themselves. Last month, we had to completely redo a job in Elmhurst where the owner tried to level their roof with concrete - ended up making the pooling worse and added 2,000 pounds of unnecessary weight to the structure.
Understanding Why Your Flat Roof Needs Leveling
Most flat roofs aren't actually flat - they should have a slight slope of at least 1/4 inch per foot toward the drains. But here in Queens, with our freeze-thaw cycles and building settlement, roofs develop low spots where water collects. These "ponding areas" are your enemy. Water that sits for more than 48 hours after rainfall starts breaking down your membrane, whether it's EPDM, TPO, or modified bitumen.
The salt air from the East River and LaGuardia flight patterns don't help either - debris accumulates in these low spots, making the problem worse.
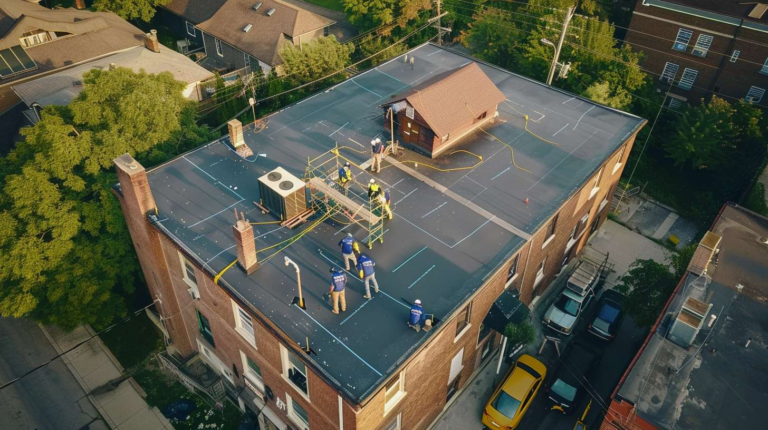
Step 1: Thorough Roof Assessment and Measuring
Before you even think about how to level flat roof surfaces, you need to map out exactly where the problems are. My crew uses a string line and level to check the roof's current slope - we're looking for areas that don't drain within 24 hours after rain.
Walk your roof after a good rainstorm. Mark every spot where water pools with chalk. Take photos. Measure the depth of standing water with a ruler. Most ponding issues in Queens homes involve depressions between 1/2 inch to 2 inches deep, but I've seen some real disasters where we're talking 4-5 inches of standing water.
Check your roof's load capacity too - adding leveling materials means adding weight. Most residential flat roofs can handle 20-30 pounds per square foot of additional load, but older buildings might need structural evaluation first.
Step 2: Choose Your Leveling Materials
This is where a lot of contractors cut corners, but the material choice makes or breaks your leveling job. Here are the options I use depending on the situation:
- Lightweight insulating concrete: Best for large areas with significant ponding. Weighs about 22 lbs per cubic foot and provides insulation value.
- Polyurethane foam: Great for smaller areas, cures fast, weighs almost nothing. We get ours from Beacon on Northern Boulevard.
- Tapered insulation: Works when you're doing a complete roof replacement anyway. Creates proper slope from the deck up.
- Self-leveling compounds: Good for minor depressions under 1/2 inch deep.
I don't recommend asphalt-based compounds for leveling - they get soft in summer heat and can create more problems than they solve. Trust me on this one.
Step 3: Surface Preparation and Priming
Here's what separates the pros from the weekend warriors: proper prep work. You can't just dump leveling material on top of a dirty, wet roof and expect it to stick.
Clean the entire area with a pressure washer - remove all debris, loose membrane pieces, and any standing water. Let it dry completely. In Queens humidity, this might take 2-3 days depending on the season. Prime all areas where you'll be applying leveling compound. The primer creates a bond between your existing roof membrane and the new material.
If you're working with EPDM rubber roofing (common in Astoria and Long Island City), use EPDM-compatible primer. For TPO or PVC membranes, make sure your primer won't cause chemical incompatibility issues.
Step 4: Apply Leveling Materials in Phases
Don't try to fill deep depressions in one shot - you'll end up with cracks and uneven surfaces. Build up your levels in 1/2 inch lifts maximum. For a 2-inch depression, that means four separate applications.
Start from the deepest point and work outward, feathering the edges to create smooth transitions. Use a long straightedge to check your work as you go. The goal is creating positive drainage toward your roof drains - aim for that 1/4 inch per foot minimum slope.
Temperature matters here too. Don't apply leveling compounds when temperatures are below 50°F or above 85°F. Early morning or late afternoon work best during Queens summers. My crew Carlos always says, "If you're sweating, the material's cooking too fast."
Allow each lift to cure completely before applying the next layer. Lightweight concrete needs 24-48 hours depending on humidity. Polyurethane foam cures in 2-4 hours but shouldn't be walked on for 8 hours minimum.
Step 5: Membrane Integration and Final Waterproofing
This is the critical step that determines whether your leveling job lasts 20 years or fails in two. The leveling material needs to integrate seamlessly with your existing roof membrane system.
For single-ply membranes like EPDM or TPO, you'll need to extend the membrane over the leveled areas using proper adhesives and seaming techniques. Heat-welded seams work best for TPO. EPDM requires splice adhesive and proper surface preparation.
If you're working with built-up roofing (BUR) or modified bitumen, apply a base sheet over the leveled areas, then your cap sheet with proper overlaps. All seams should be sealed with compatible sealant.
Test your work by flooding the area with water from a garden hose. Water should flow smoothly toward drains without creating new ponding areas. If you see standing water anywhere, you need to address it before considering the job complete.
Common Mistakes That'll Cost You Later
After fixing hundreds of botched leveling jobs across Queens, here are the mistakes I see most often: Using the wrong materials for your membrane type - chemical incompatibility causes premature failures. Not allowing proper cure time between lifts - leads to cracking and delamination. Trying to level too much area at once - creates uneven surfaces and poor drainage.
I can't tell you how many times I've been called to Forest Hills or Bayside to fix DIY leveling jobs where someone used regular concrete instead of lightweight compound. That extra weight can cause structural problems, especially on older buildings.
Another big one: not checking local building codes. Some areas in Queens require permits for structural modifications, and adding significant weight to your roof might qualify.
When to Call the Professionals
Look, I'm all for DIY projects, but leveling existing flat roofs involves working at height with specialized materials and techniques. If your ponding areas are larger than 10 square feet, deeper than 1 inch, or if you're dealing with structural issues, call a licensed contractor.
At Flat Masters NY, we've leveled everything from small residential garages in Ridgewood to large commercial buildings in Long Island City. Our crew knows Queens building codes, local suppliers, and the specific challenges our climate creates.
The investment in professional installation typically pays for itself through proper drainage, extended roof life, and avoiding costly mistakes. Plus, our work comes with warranties that DIY jobs can't match.
If you're dealing with persistent ponding on your Queens flat roof, give us a call. We'll assess your situation, explain your options, and help you decide whether professional leveling makes sense for your specific building and budget.
