How to Frame a Flat Roof: 5 Essential Steps for Success
Look, I've been framing flat roofs across Queens for over two decades, and let me tell you - there's a right way and about fifty wrong ways to do this job. Just last week on Northern Boulevard, I saw a crew trying to frame a flat roof without proper drainage considerations, and it was a disaster waiting to happen. How to frame a flat roof properly starts with understanding that "flat" doesn't actually mean flat - you need at least a 1/4 inch per foot slope for proper drainage, and that's just the beginning.
The thing about flat roof framing is that it's all about the details. I can't tell you how many times I've been called to fix someone else's mess because they didn't understand the fundamentals. Here in Queens, with our heavy rains and snow loads, getting the framing right isn't optional - it's critical.
Understanding Flat Roof Framing Basics
When people ask me about how to frame for a flat roof, the first thing I explain is that we're really talking about low-slope roofing. A truly flat roof would be a swimming pool waiting to happen. In my experience working on everything from small residential additions in Astoria to large commercial buildings in Long Island City, proper slope is everything.
The structural requirements for roof framing flat roof systems are significantly different from pitched roofs. You're dealing with different load distributions, different drainage requirements, and honestly, a lot more responsibility because water doesn't run off as quickly.
Step 1: Planning Your Flat Roof Frame Structure
Before you even think about picking up a piece of lumber, you need to understand your local building codes. Here in Queens, we follow NYC Building Code, and trust me, the inspectors know their stuff. Your flat roof framing details need to account for live loads (usually 30 psf minimum), dead loads, and snow loads.
I always start by calculating the spans and determining joist sizes. For most residential applications, I'm looking at 2x10 or 2x12 joists, but it depends entirely on your span and load requirements. My supplier at Beacon Building Products on Northern Boulevard keeps telling contractors that bigger isn't always better - it's about matching the lumber to the specific application.
The drainage plan is crucial at this stage. You need to determine where water will flow and how it will get off the roof. How to frame a flat roof for drainage means creating subtle slopes - typically 1/4 inch per foot minimum - toward your drainage points.
Step 2: Installing the Support Structure
Here's where the rubber meets the road. When you're working on roof framing for flat roof applications, your joist installation is critical. I always start with the perimeter and work my way in, checking for level and making sure my slopes are consistent.
One thing I see contractors mess up constantly is not accounting for deflection. A framed flat roof will deflect under load, and if you don't plan for this, your drainage slopes can actually reverse. That's a nightmare scenario that I've had to fix more times than I care to count.
For commercial applications or larger spans, flat roof truss framing might be the way to go. Trusses can span longer distances and provide better structural integrity, but they're also more expensive and require crane installation on most projects.
Step 3: Creating Proper Drainage Slopes
This is where most DIYers and even some contractors go wrong. Framing flat roof rafters for proper drainage isn't just about sloping the joists - sometimes you need to use tapered insulation or sleepers to create the right drainage pattern.
I typically use one of three methods: sloped structural framing, tapered insulation, or a combination of both. For residential work in Queens, I often prefer sloped framing because it's more reliable long-term. The salt air from the East River and our freeze-thaw cycles can be tough on roofing systems.
Oh, and another thing about drainage - make sure your drain locations are coordinated with your framing. I've seen too many jobs where the drain ended up in the wrong place because nobody talked to the roofer before framing.
Step 4: Installing Blocking and Bridging
Blocking is essential for flat roof framing details. You need solid blocking at all bearing points, around roof openings, and typically at mid-span for longer joists. I use 2x lumber that matches the joist depth, and I make sure everything is tight and solid.
For bridging, I prefer solid wood bridging over metal cross-bridging for flat roofs. It provides better lateral support and creates a more solid feel underfoot when you're working on the roof later.
Step 5: Parapet and Edge Details
Parapet flat roof framing requires special attention. If you're building a parapet wall, your framing needs to extend up to support it properly. This usually means doubling up your perimeter joists and adding additional blocking.
Edge details are critical for both structural integrity and weatherproofing. I always install a doubled header around the perimeter, and I make sure it's properly flashed later in the process.
Common Mistakes to Avoid
After doing this for 23 years, I've seen every possible mistake. Here are the big ones:
- Not creating enough slope for drainage
- Undersizing joists for the actual loads
- Poor blocking installation
- Not coordinating drain locations with framing
- Ignoring local building codes
Look, I don't care what other contractors say about cutting corners - when it comes to flat roof porch framing or any flat roof work, doing it right the first time is always cheaper than fixing it later.
When to Call the Professionals
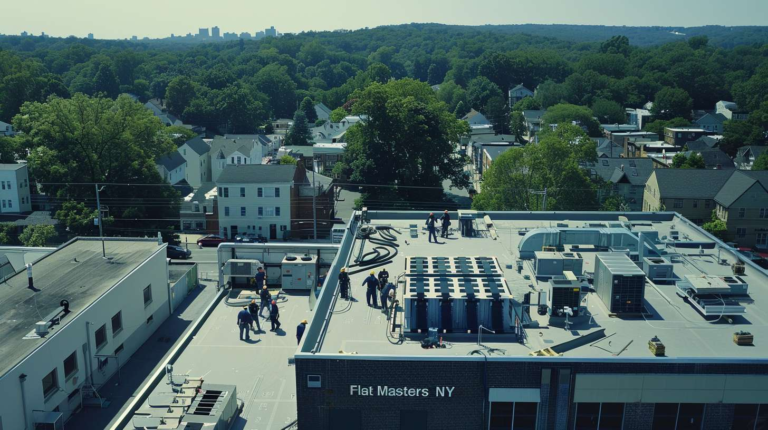
If you're dealing with spans over 16 feet, complex drainage patterns, or commercial applications, it's time to call in the pros. At Flat Masters NY, we've framed everything from small residential additions to large commercial buildings across Queens. We know the local codes, we understand the climate challenges, and we get it right the first time.
For complex projects involving frame flat roof systems with multiple levels or unusual shapes, professional engineering may be required. Don't guess when it comes to structural adequacy.
The bottom line is this: proper flat roof framing is the foundation of a leak-free roof that will last for decades. Whether you're doing it yourself or hiring professionals, make sure it's done right. Your future self will thank you when you're not dealing with water damage and expensive repairs.
If you're in Queens and need help with your flat roof framing project, give us a call. We've been keeping Queens dry since 2001, and we know how to frame a flat roof that will stand the test of time.
