Professional Flat Roof Cricket Construction Services Near You
Look, I've been doing flat roofing in Queens for over two decades now, and if there's one thing that separates the good contractors from the ones who leave you with water damage, it's understanding flat roof cricket construction. These little water-diverting structures might not look like much, but they're absolutely critical for preventing ponding water and extending your roof's life.
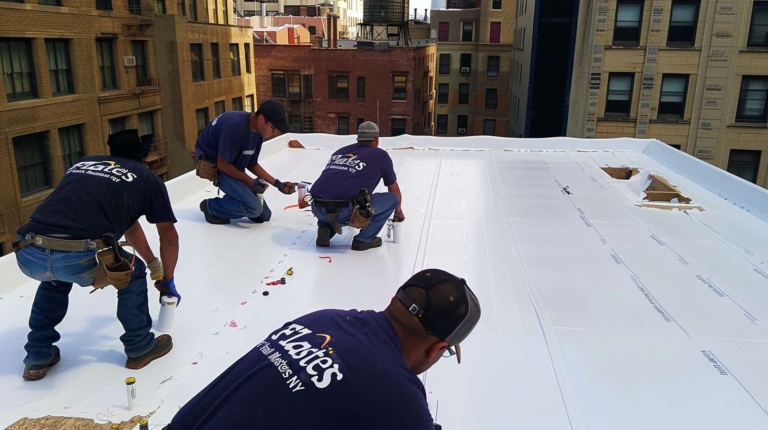
At Flat Masters NY, we've installed hundreds of crickets across Astoria, Long Island City, and Flushing, and I can tell you firsthand - when done right, they're invisible heroes working 24/7 to protect your building.
What Exactly Is a Flat Roof Cricket?
A roof cricket is essentially a small, peaked structure designed to divert water away from areas where it tends to collect. Think of it as a tiny roof on your roof. Most commonly, we install them behind chimneys, HVAC units, or anywhere you've got an obstruction that creates a dam effect during heavy rains.
The whole point is drainage. Water hits the cricket, splits around it, and flows toward your drains instead of sitting there turning into a pond. In Queens, with our intense summer storms and nor'easters, proper water management isn't optional - it's survival for your roof membrane.
How to Build a Flat Roof Cricket: The Professional Process
Here's where I see a lot of DIY disasters. Building a cricket isn't just about slapping some lumber together and calling it good. There's engineering involved, proper flashing, membrane integration, and code compliance. Let me walk you through how we actually do this right.
First, we assess the specific drainage challenge. Every situation is different. Last month on 31st Street in Astoria, we had a massive HVAC unit that was creating a perfect water trap. The solution required a custom cricket that was 6 feet long and peaked at 18 inches - way more complex than your typical behind-the-chimney installation.
The frame gets built with pressure-treated lumber, typically 2x4s for the base and 2x6s for the peak, depending on the span. We use galvanized fasteners exclusively because regular screws will rust out in a few years, especially with the salt air coming off the East River.
Step-by-Step Cricket Construction
When we're figuring out how to build a cricket on a flat roof, the process starts with accurate measurements and proper planning. You can't just eyeball this stuff.
- Site preparation - We cut back the existing membrane carefully, leaving enough material to tie into the new cricket flashing
- Frame construction - The cricket frame gets built to direct water at a minimum 1/4 inch per foot slope
- Decking installation - Usually 5/8" plywood or OSB, properly fastened every 6 inches along the edges
- Membrane integration - This is where most contractors screw up. The new membrane has to tie seamlessly into the existing roof
- Flashing details - Critical around the chimney or equipment base
But here's the thing about how to build a flat roof cricket - the devil's in the details. The flashing work around the base of whatever you're trying to divert water from is where leaks happen if you don't know what you're doing.
Common Cricket Construction Mistakes
I can't tell you how many times I've been called to fix someone else's cricket work. The most common mistake? Not understanding how the new structure integrates with the existing drainage system. You can't just build a cricket and ignore where that diverted water is going to end up.
Another big one is inadequate slope. I've seen crickets built completely flat - they're worse than useless because they actually create more ponding areas. The minimum slope should be 1/4 inch per foot, but I prefer 1/2 inch per foot when space allows.
And don't get me started on the contractors who use regular lumber instead of pressure-treated, or who skip the vapor barrier. In Queens' climate, that's a recipe for rot and failure within five years.
Material Considerations for Queens Climate
Working in Queens means dealing with everything from hurricane-force winds to ice dams. The materials we use for cricket construction have to handle it all. We typically use EPDM or TPO membrane to match the existing roof, with proper primer and seam tape for adhesion.
The flashing is always aluminum or stainless steel - nothing else holds up to the salt air near the water. We get our materials from Beacon Supply on Northern Boulevard because they understand the local climate challenges and stock the right grade materials.
For the structural elements, it's pressure-treated Southern Yellow Pine, kiln-dried. The moisture content matters more than most people realize, especially when you're creating a sealed assembly under membrane roofing.
When Do You Need a Cricket?
Not every roof needs crickets, but most flat roofs in Queens have at least one area where they'd help. Any time you've got equipment, chimneys, or other penetrations that are wider than 30 inches, you should seriously consider cricket installation.
I always tell customers - if you're seeing standing water anywhere on your roof 48 hours after a rainstorm, that's a problem area that probably needs a cricket or some other drainage solution.
The NRCA (National Roofing Contractors Association) actually recommends crickets for any chimney or equipment over 2 feet wide, but in practice, we evaluate each situation individually.
Cost and Timeline Considerations
A typical cricket installation runs anywhere from $800 to $2,500, depending on size and complexity. The behind-the-chimney crickets are usually on the lower end, while custom equipment crickets can get expensive fast.
Timeline is usually 1-2 days for a straightforward installation, assuming decent weather. But if we're dealing with extensive flashing work or membrane repairs, it can stretch longer.
The key is getting it done right the first time. I've seen too many quick-fix cricket jobs that create more problems than they solve.
Why Choose Professional Installation
Look, I get it. YouTube makes everything look easy, and cricket construction doesn't seem that complicated from the outside. But there's a reason we carry $2 million in liability insurance and maintain an A+ BBB rating - this work has real consequences when it goes wrong.
Water damage from failed cricket installation can run tens of thousands of dollars. We've had customers call us after DIY attempts resulted in interior flooding, mold growth, and structural damage to the building frame.
At Flat Masters NY, every cricket we install comes with our 10-year workmanship warranty, backed by manufacturer material warranties. My crew chief Tony has been with me for 15 years, and my lead installer Maria knows Queens flat roofing like nobody else.
Maintenance After Installation
Once your cricket is installed, it's not maintenance-free. We recommend annual inspections, especially after major storms. The flashing connections need to be checked, and any debris buildup around the cricket needs to be cleared.
Most of our cricket installations are still performing perfectly after 10-15 years, but that's with proper maintenance and quality installation from the start.
If you're dealing with ponding water issues or need professional cricket installation in Queens, give us a call at (917) 994-7618. We'll come out and assess your specific situation, provide a detailed estimate, and get your drainage working the way it should. Because when it comes to flat roof cricket construction, experience matters - and we've got plenty of both.
