Professional Felt Installation on Flat Roof Services Near You
After installing over 3,500 flat roofs across Queens in the past two decades, I can tell you that proper felt installation on flat roof systems is absolutely critical for long-term performance. Most homeowners don't realize that the felt layer - what we call the underlayment - is literally what keeps water from destroying your home when your main roofing membrane gets compromised.
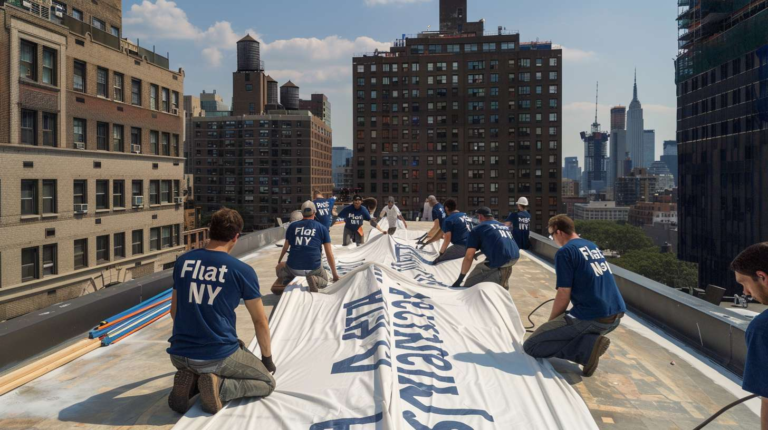
Look, I've seen too many botched jobs where contractors skip corners on the felt installation, and the results are always the same: callbacks, water damage, and angry customers. At Flat Masters NY, we've built our reputation on doing this foundational work right the first time.
Understanding Flat Roof Felt Installation
Here's what most people don't understand about how to install roofing felt on a flat roof - it's not just rolling out some material and calling it done. The felt serves as your secondary waterproofing barrier, and in Queens with our harsh winters and summer storms coming off the East River, that backup protection is essential.
We use different types of felt depending on the specific roof conditions. For most residential applications, we're installing either 15-pound or 30-pound asphalt-saturated felt, though sometimes we'll upgrade to synthetic underlayment when the budget allows. The weight refers to how much 100 square feet of the material weighs - heavier generally means more protection.
The installation process starts with a completely clean, dry deck. Any debris, old nails, or uneven surfaces will telegraph through the felt and create potential failure points. My crew chief Miguel always says "if you wouldn't walk on it barefoot, don't put felt over it" - and he's absolutely right.
Why Proper Felt Installation Matters for Queens Properties
The salt air from Flushing Bay and the East River creates unique challenges for roofing materials in our area. I've seen felt installations fail within two years because the contractor didn't account for the coastal moisture conditions we deal with here.
When we're doing flat roof felt installation, we pay special attention to the overlap patterns. Standard practice calls for 2-inch side laps and 6-inch end laps, but in high-wind areas like Astoria and Long Island City, we often increase those overlaps. The last thing you want is wind-driven rain finding its way between felt seams during one of those nor'easters we get every winter.
Temperature matters too. Installing felt when it's too hot causes the material to become overly pliable and prone to tearing. Too cold, and it becomes brittle. We schedule our felt installations for moderate temperature days whenever possible, usually between 45°F and 85°F.
The Step-by-Step Installation Process
Starting at the lowest point of the roof, we roll out the first course of felt parallel to the eave. This is crucial - water needs to flow over the overlaps, not under them. Each subsequent course overlaps the previous one by at least 6 inches, creating a shingle effect that directs water downward.
Fastening is where a lot of contractors mess up. We use roofing nails or staples spaced 6 inches on center along the edges and 12 inches on center in the field. But here's the key - the fasteners need to be driven flush, not overdriven. Overdriven fasteners create dimples that collect water, and underdriven ones leave the felt loose and vulnerable to wind uplift.
Around penetrations like vents, chimneys, or HVAC units, we cut the felt carefully and seal the edges with roofing cement. This is tedious work, but it's where most leaks originate if done poorly. We typically add an extra layer of felt around all penetrations for added protection.
Common Installation Mistakes We Fix
I can't tell you how many times we've been called to repair roofs where the previous contractor installed the felt backwards - with the laps facing uphill instead of downhill. Water hits those reverse laps and goes straight under the felt instead of over it. It's roofing 101, but you'd be amazed how often we see it.
Another common mistake is inadequate edge treatment. The felt needs to extend over the roof edge and be secured properly to prevent wind uplift. We see a lot of installations where the felt barely reaches the edge, leaving the deck exposed to weather.
Wrinkles and bubbles in the felt are also problematic. These create stress points where the material will eventually tear. We take extra time to smooth out the felt as we install it, ensuring a flat, uniform surface for the finished roofing membrane.
Material Selection for Queens Climate
Given our climate conditions here in Queens, we typically recommend 30-pound felt over 15-pound for most applications. The heavier material provides better puncture resistance and more secondary protection. For properties near the water in areas like Whitestone or College Point, we sometimes upgrade to modified bitumen or synthetic underlayments that offer superior moisture resistance.
Synthetic underlayments are becoming more popular, and for good reason. They're lighter, stronger, and more resistant to tearing than traditional felt. The downside is cost - they typically run about 40% more than standard felt. But for a long-term investment, especially on a flat roof that's difficult to access, the upgrade often makes financial sense.
Timing and Weather Considerations
Weather is always a factor with flat roof felt installation. We never install felt with rain in the forecast, and we always have tarps ready in case conditions change unexpectedly. Wet felt is slippery and dangerous to work with, plus it can trap moisture against the deck.
Wind is another consideration. Felt acts like a sail when you're trying to position it, and gusts can tear it before you get it fastened down. On windy days, we use smaller sections and have extra crew members helping to control the material.
Most felt installations take 1-2 days for a typical residential roof, depending on size and complexity. We prefer to complete the felt installation and get at least a temporary protective covering in place before leaving the job site overnight. An uncovered roof deck is vulnerable to sudden weather changes.
Working with Existing Roof Structures
Many of the buildings we work on in Queens are older, with existing roof structures that present unique challenges. Sometimes we're working over old built-up roofing that needs to be incorporated into the new felt installation. Other times we're dealing with unusual deck materials or irregular surfaces.
On commercial buildings in areas like Jamaica or Forest Hills, we often encounter existing roof systems that can't be completely removed due to asbestos concerns or structural limitations. In these cases, we develop specialized installation procedures that ensure the new felt integrates properly with existing conditions while maintaining waterproof integrity.
Quality Control and Inspection
Every felt installation we complete goes through a thorough inspection process. We check fastener patterns, overlap consistency, and edge details. Any areas that don't meet our standards get corrected before we move on to the next phase of the roofing system.
We also photograph the completed felt installation for our records and for the customer. This documentation is valuable for warranty purposes and future maintenance planning. Plus, it gives homeowners peace of mind knowing that the work was done properly, even though they'll never see it once the finished roofing is installed.
If you're dealing with flat roof issues in Queens and need professional felt installation services, give us a call at (917) 994-7618. We're licensed, insured, and have been serving the local community for over 20 years. Our team knows how to handle the unique challenges that Queens weather and building conditions present, and we stand behind every installation with our comprehensive warranty program.
Don't trust your flat roof to just anyone - proper felt installation is the foundation of a reliable roofing system that will protect your property for decades to come.
