Tarping a Flat Roof Wrong Makes the Damage Worse - Here's the Safe Method
Wind control and water escape have to be solved together or the tarp becomes the problem
This shouldn't still be happening. A tarp on a flat roof must manage two things at once - wind lift and water escape - and if it fails at either one, it doesn't protect the roof. It becomes part of the damage. That's not a technicality. That's the difference between a repairable leak and a roof that's holding a few hundred pounds of standing water under a ballooning sheet of poly.
Before you ask how to put a tarp on a flat roof, what exactly are you covering and what must stay open? You're not throwing a blanket over the whole field and hoping for the best. You're protecting a specific damaged area while keeping drainage intact and staying off sections that are soft, saturated, or structurally suspect - and I'm speaking here from the work of Dmitri Volkov, with 22 years stabilizing storm-damaged flat roofs in Queens where bad temporary setups become heavier, flappier, and more destructive than the original leak. Think of it like storm-response seamanship: every good temporary cover has anchor points, a calculated lift profile, a load path, and an escape route for water. Miss any one of those and control disappears fast.
Flat-Roof Tarp Mistakes That Make Damage Worse Fast
- Covering drains or scuppers - water has nowhere to go and pools under the tarp, adding dead load to an already stressed roof.
- Stretching the tarp across low spots - you're creating a bowl. That bowl will fill. The weight will be significant before you notice.
- Weighting corners only - the middle lifts, wind catches the span, and the whole setup becomes a sail anchored at four corners.
- Puncturing weak or exposed areas to fasten - every new hole through already-compromised membrane is a new leak waiting for the next rain.
- Treating it like a pitched-roof emergency - sloped-roof tarp logic doesn't translate. Water runs off a pitched roof. On a flat roof, it stays exactly where you put it.
Blanket coverage fails because flat roofs punish trapped water before they punish optimism
Big tarp thinking is usually the first bad idea
I still remember that tarp bulging like a sail over a shallow lake. One September night around 10:30, I climbed onto a flat roof in Woodhaven after a customer had placed bricks on all four corners and nothing - nothing - to control the middle span. Wind was hammering in from one side, and the tarp had already started ballooning and lifting between the corners. My headlamp caught it immediately: a whole shallow lake had formed underneath, the tarp trapping water it was supposed to shed, the corners holding it in instead of anchoring it down. That was not weather protection. That was a water trap with lift attached, and it had been building for at least two hours.
Headlamp on, wind up, first question: where does the water go now? On Queens storm nights - and if you've been on a flat roof during a northeastern coming off Jamaica Bay, you know what that wind does - parapets create micro-weather conditions that change the lift calculation completely. Rooftop equipment, pipe risers, HVAC curbs, antenna mounts: all of it breaks up airflow and creates turbulence that a corner-brick setup cannot handle. Blanket tarping across a whole roof field in that environment doesn't just fail. It accelerates damage. That covers wind. Now water. Any tarp edge that sits lower than the surrounding roof becomes a dam, and flat roofs have no slope to bail them out.
| Criteria | Controlled Cover Over Damage Zone | Blanket Tarp Over the Roof Field |
|---|---|---|
| Water escape | Drain path stays open; water moves off the roof normally | Drains frequently covered; water pools under the tarp |
| Wind behavior | Smaller span means less lift area; easier to anchor and control | Large unsupported span catches full wind load; ballooning likely |
| Load accumulation | Load stays minimal when water escapes freely | Water and debris collect under wide coverage; dead load grows fast |
| Risk to membrane | Vulnerable sections protected without adding new stress points | Tarp abrasion, trapped moisture, and movement damage healthy membrane |
| Stability in gusts | Controlled perimeter, shorter span, higher stability threshold | Corners lift, middle flaps, bricks shift - setup fails in moderate gusts |
| Outcome after one more storm | Temporary cover still functional; damage zone still protected | Setup has shifted, torn, or trapped a significant volume of water |
-
▸
Drain path - the primary interior drain must remain fully unobstructed. Non-negotiable. -
▸
Scupper path (if present) - parapet scuppers are the overflow system. Block them and you lose your second line of defense. -
▸
Windward edge control - the edge facing prevailing wind must be secured below parapet level or weighted with distributed ballast, not single points. -
▸
Middle-span support logic - unsupported center spans collect water and catch wind. Either eliminate the span or support it so pooling can't happen. -
▸
Access route - you or a crew member need a clear path back to the hatch or ladder if conditions deteriorate. Don't tarp over your own exit. -
▸
The damage zone itself - know exactly what you're covering. Protect that area specifically. Everything else on the roof is secondary to that boundary.
More fasteners and more goo do not create a safer temporary repair
Here's the blunt truth: more fasteners do not automatically mean more safety. On a flat roof with exposed or wet membrane, driving nails or screws through damaged sections doesn't lock a tarp in place - it creates new punctures in a surface that's already failed. Each one is a direct path for water into the system below. The logic of "pin it harder" doesn't apply here. You're not fastening clean structural material. You're putting holes in something that can no longer defend them.
A bad tarp setup on a flat roof behaves like loose canvas on a rescue boat - once wind and weight get involved, control disappears fast. I had a call just after dawn in Maspeth from a family who'd spent part of the night trying to put a tarp on a flat roof after their membrane tore near a parapet. They'd nailed straight through the exposed sections because more fastening felt like more security. It wasn't. It was more punctures. By the time I arrived, we had to pull the entire bad setup, assess what the nailing had added to the original damage, and then rebuild a temporary cover that kept the vulnerable area protected while routing water properly around and off the zone. The fix took twice as long because of the first attempt.
My opinion? Most tarp failures start with people trying to pin down a problem instead of route it. The instinct is to hold everything still. But a flat roof tarp that doesn't route water will hold water, and a tarp that's over-fastened through compromised material will leak from every fastener point the moment rain arrives. And honestly, if your plan depends on random punctures, corner bricks, or blocking a low spot to make the setup "stay put," that is not a flat-roof tarp plan - that is a liability. Step back and call someone before that setup becomes a second repair job on top of the first.
| Mistake | Why People Do It | What Actually Happens | Likely Result |
|---|---|---|---|
| Corner-only weighting with bricks | Feels intuitive; no drilling required | Middle span lifts, wind gets underneath, tarp becomes a sail | Tarp failure in first significant gust |
| Fasteners through weak or wet sections | "More fastening = more secure" thinking | Each fastener adds a new water entry point through compromised material | Expanded leak pattern after next rain |
| Blocked drain path | Tarp sized to "cover everything" without mapping drains first | Water backs up, pools under tarp, dead load increases rapidly | Structural overload risk; interior flooding |
| Tarp stretched over ponding zone | Trying to protect the lowest, most visible wet area | Tarp sags into depression, collects water on top and underneath | Water weight tears tarp or pulls anchors free |
| Over-wide coverage across the whole field | "Bigger tarp = better protection" assumption | Tarp edge dips below parapet scuppers, blocks overflow path | Drains overwhelmed; water finds interior path |
| Sealant smeared over tarp edges | Looks like a thorough fix; "seals the gap" | Sealant fails as tarp moves; adhesion to poly is unreliable | False confidence; water enters at failed sealant lines |
| Myth | Fact |
|---|---|
| "Heavier corners mean a secure tarp." | Corner weight controls four points. Wind works on the entire span between them. The middle fails first. |
| "More nails equal more safety." | More nails through compromised membrane equal more entry points for water. Count the punctures, not the nails. |
| "A bigger tarp means better protection." | A bigger tarp means a bigger wind catch, a higher chance of blocking drains, and more weight when water collects. Smaller and deliberate wins. |
| "Sealant can fix a bad temporary layout." | Sealant doesn't adhere reliably to poly tarps, and it doesn't compensate for bad positioning. It just delays the obvious. |
| "The pipe or parapet is always the best anchor point." | Pipes and parapets may be loose, rusted, or at the wrong height. Verify anchor strength before trusting it with a loaded tarp in 40 mph gusts. |
The safest temporary cover is usually smaller, more deliberate, and more respectful of the drain path than people expect
The goal is control, not theater
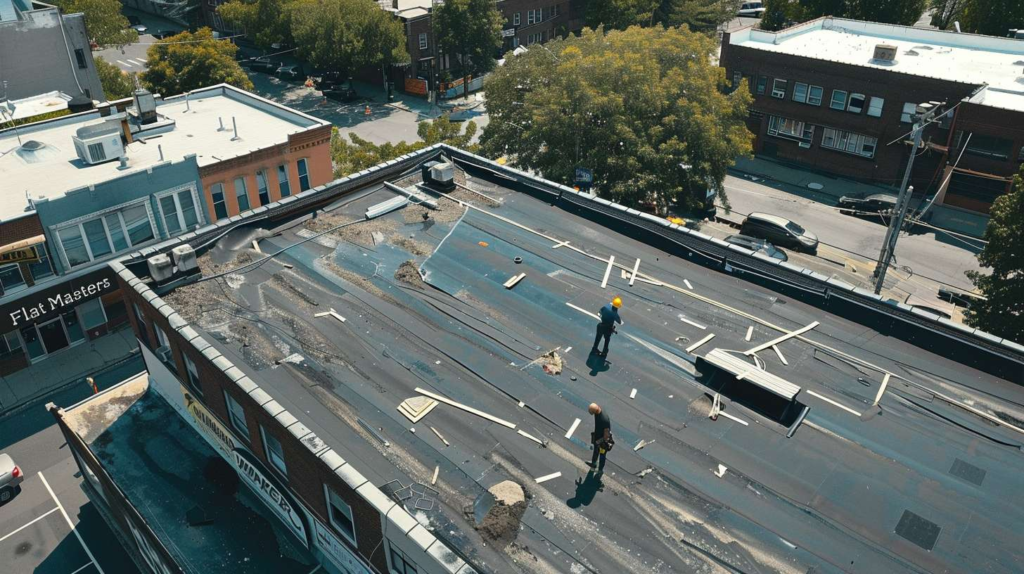
Before you ask how to put a tarp on a flat roof, what exactly are you covering and what must stay open? The second time you hear that question, it should feel different - tighter, more specific. A Jackson Heights restaurant owner called Flat Masters one late afternoon before a forecasted overnight storm, genuinely smart to ask before acting. When I got there, I found rooftop HVAC equipment blocking natural anchor paths, limited clear sections around the parapet, and a drain path near Northern Boulevard that could not be obstructed under any circumstances - not for one hour, not for one storm cycle. We built the temporary cover around the specific damage zone above the prep area, respected every inch of that drain path, and used the HVAC curbs as windward anchor supports rather than obstacles. The roof field stayed open. The drain ran free. The damage zone was protected. That's what a real temporary cover looks like on a flat roof in Queens - not a dramatic full-field tarp, but a disciplined small-zone response that doesn't create the next problem while solving the current one.
Can you tarp a flat roof the same way as a pitched roof?
How do you put a tarp on a flat roof without trapping water?
Should you nail or screw through the roof to secure it?
How wide should the tarp coverage area be?
When should you stop and call for emergency stabilization instead?
A temporary cover buys time. It doesn't buy forgiveness for a bad setup. Get the drain path right, get the anchor points right, get the span under control - or don't get up there at all. Call Flat Masters for emergency flat-roof stabilization in Queens before a bad tarp setup turns a repairable leak into a heavier, wind-driven mess that costs three times as much to fix.
