How to Make a Flat Roof Revit: Professional Design Guide
After twenty-three years designing and installing flat roofs across Queens, I've seen way too many projects fail because the Revit model didn't match reality. Look, creating a flat roof in Revit isn't just about clicking buttons - it's about understanding how these roofs actually work in the field.
Setting Up Your Flat Roof Foundation in Revit
First thing you need to understand: flat roofs aren't actually flat. We maintain a minimum 1/4" per foot slope for drainage, and in Queens with our heavy rainfall, I recommend 1/2" per foot. Your Revit model better reflect this or you're going to have ponding water issues that'll drive you crazy later.
Start by creating your roof element using the "Roof by Footprint" tool. Here's where most people mess up - they think they can just draw a rectangle and call it done. But here's the thing about flat roofs in our area: you need to account for crickets, scuppers, and proper drainage paths from day one.
When you're in the sketch mode, make sure you're setting your slope arrows correctly. I can't tell you how many times I've seen drawings where the water would flow toward the building instead of away from it. The slope arrows should point toward your drains or scuppers - sounds obvious, but you'd be surprised.
Creating the Proper Roof Assembly
Now this is where your Revit model needs to match real-world construction. A proper flat roof assembly in our climate includes the structural deck, vapor barrier, insulation, coverboard, and membrane. Each layer serves a purpose, and your Revit family needs to represent this accurately.
Create a new roof type by duplicating an existing one and modifying the assembly. Start from the bottom up: steel deck (typically 22-gauge), vapor retarder, polyiso insulation (we usually spec 3-4 inches minimum in Queens for energy compliance), half-inch coverboard, and your membrane system.
The membrane choice affects your modeling too. EPDM, TPO, modified bitumen - they all have different installation details that impact your edge conditions and penetration flashing. We do a lot of TPO work in Queens because it holds up well against the UV exposure we get, especially on those high-rise buildings in Long Island City.
Modeling Drainage Elements
Drainage is everything on a flat roof. Every roof drain, scupper, and overflow drain needs to be modeled with proper slopes leading to them. In Revit, you'll want to create separate slope regions for each drainage area.
Here's something most architects miss: roof drains need to be the low point, not just randomly placed. Create a slope region around each drain with arrows pointing toward it. The minimum slope should be 1/4" per foot, but honestly, after dealing with countless callback issues, I always spec 1/2" per foot minimum.
And don't forget about overflow drains - code requires them, and they need to discharge at a level 2" above your primary drains. Model these correctly or you'll have issues during plan review.
Edge Details and Parapet Modeling
Edge conditions make or break a flat roof design. Most flat roofs in Queens have parapets, and your Revit model needs to show proper flashing details. The roof membrane needs to turn up the parapet wall a minimum of 8 inches above the roof surface.
Create your parapet walls using the wall tool, then modify your roof sketch to extend slightly beyond the building footprint. This gives you the proper base flashing detail. Don't just stop the roof at the wall face - that's not how we actually build these things.
For buildings without parapets, you'll need proper edge metal. Model this as a separate family that shows the drip edge, cant strip, and membrane termination. Getting these details right in Revit saves headaches during construction.
Penetration Families and Flashing
Every penetration through your flat roof - HVAC units, exhaust fans, pipes, electrical conduits - needs proper flashing details. Create custom families for common penetrations that show the curb, flashing, and membrane details.
HVAC units are the big one. Most units need a minimum 14" high curb, and the curb needs to extend beyond the unit base by at least 6" on all sides. We see way too many leaks because the curb wasn't sized properly in the design phase.
Pipe penetrations need pitch pockets or boot-style flashings depending on the application. Model these accurately because the contractor needs to understand exactly what's required. A simple circle in your roof won't cut it.
Insulation and Tapered Systems
If you're designing a tapered insulation system - and you should be for proper drainage - Revit can model this, but it takes some work. Create separate insulation families for different thicknesses, or use the variable thickness option in your roof assembly.
Tapered systems start at your minimum insulation thickness at the drains and increase to provide slope. Typically we see 1/4" per foot taper, but on larger roofs you might need 1/2" per foot to get proper drainage to interior drains.
The key is making sure your structural engineer understands the loading implications. That extra insulation adds weight, especially when it gets saturated if you have a leak.
Quality Control and Common Mistakes
Before you finalize any flat roof design in Revit, run through this checklist: Do all slope arrows point toward drains? Are overflow drains 2" higher than primary drains? Do you have proper cant strips at all vertical surfaces? Is the insulation thickness adequate for energy code compliance?
The biggest mistake I see is architects who design flat roofs without understanding how they actually get built. Your Revit model should show construction sequences, not just pretty renderings.
Test your drainage paths using Revit's slope analysis tools. If water can pond anywhere on your model, it will pond in real life, and that means callbacks and warranty issues.
Local Code Considerations for Queens
New York City has specific requirements for flat roofs that your Revit model needs to address. Wind uplift calculations, snow load requirements, and fire department access all impact your design.
For buildings over 100 feet tall - and we have plenty of those in Queens - you need enhanced wind uplift resistance. This affects your membrane attachment, insulation fastening, and edge details. Model these connections properly or you'll have issues during permit review.
We also need to consider the urban heat island effect. Cool roof requirements might impact your membrane selection, which affects your Revit families and specifications.
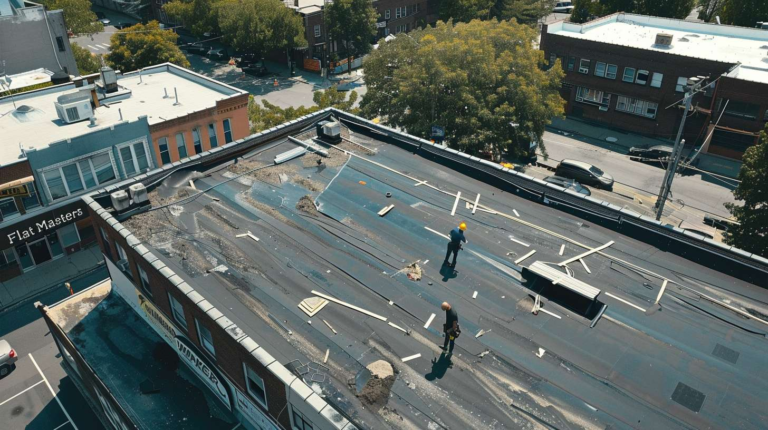
Look, creating accurate flat roof models in Revit takes practice and real-world understanding. If you're designing flat roofs for Queens projects, partner with contractors who know the local challenges. At Flat Masters NY, we've been working with architects and engineers for over two decades, and we're always happy to review Revit models before construction starts. Better to catch issues on screen than on the roof.
Getting the Revit model right from the start saves everyone time and money. And in Queens, where weather can be brutal and building owners expect their roofs to last, accuracy in design phase is everything.
