Building the Structure of a Flat Roof - What Actually Holds Everything Together
What carries the roof before the waterproofing ever shows up
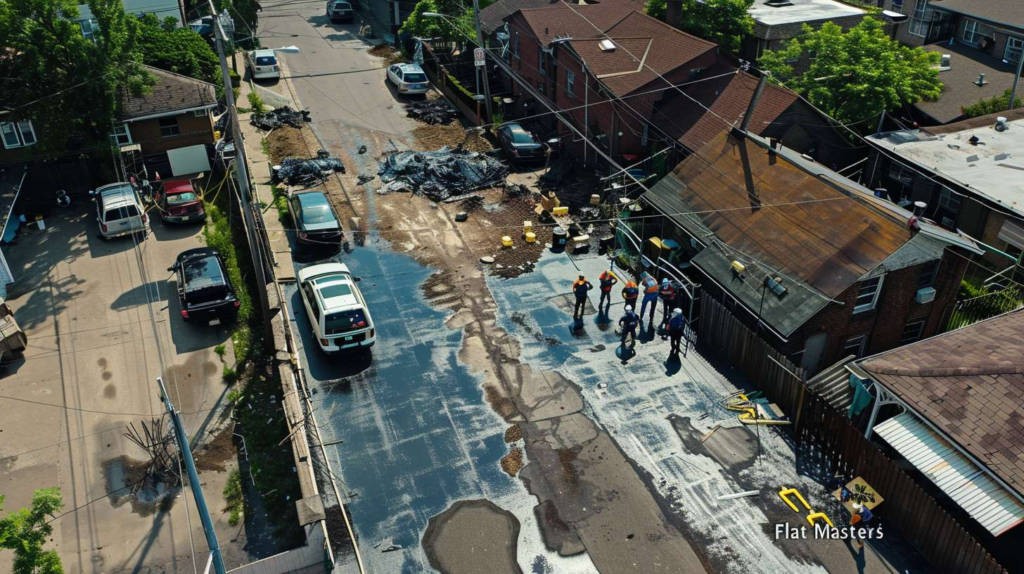
Most people look at a flat roof and see the membrane - the rubber, the modified bitumen, the coating - and assume that's the roof. It isn't. The membrane is the weather skin, nothing more. What actually holds a flat roof together is the framing system underneath: the joists transmitting load to bearing walls, the deck distributing force across spans, and the connections keeping everything from shifting when wind pushes up and gravity pulls down. Water doesn't lie about where the framing failed. It finds the lowest point, sits there, and waits.
If I asked you what's actually carrying the weight up there, what would you say? Most people point up. The right answer points down - to the joists, the beams, the deck fastening, and the bearing conditions at each wall. I'm Nora Bellamy, and with 19 years in flat roofing and a focus on explaining framing failures to Queens homeowners who've never looked under a membrane once, I can tell you that the visible top layer gets blamed for problems that were baked into the structure long before anyone rolled out a sheet of EPDM. Once you understand load paths and deflection, you stop blaming the rubber and start asking about the frame.
| Component | Structural Job | What Happens If It's Wrong | What Homeowners Commonly Misidentify It As |
|---|---|---|---|
| Beam / Wall Support | Transfers all joist loads down to the building's foundation or bearing walls | Concentrated deflection, cracked interior ceilings, walls pulling away from the roof edge | Part of the wall structure, not the roof |
| Joists / Rafters | Span the opening and carry the dead load of the deck plus live loads (snow, equipment, foot traffic) | Visible sag, ponding water, deck bounce when walked on | The membrane or insulation layer above |
| Blocking / Bridging | Prevents joists from rotating laterally under load; stiffens the whole assembly | Creaking, joist rollover, deck movement at seams, noise in wind | Filler or scrap wood left by the last crew |
| Roof Deck | Creates the continuous nailing surface for the membrane; distributes point loads across joists | Fastener pullout, membrane bridging at seams, soft spots underfoot | The roof itself - the last layer before the membrane |
| Insulation / Taper Layer | Creates or refines drainage slope above the deck; controls thermal movement in the assembly | Flat spots, water retention, freeze-thaw damage that accelerates membrane failure | The waterproofing layer - it's not; the membrane above does that job |
| Myth | Fact |
|---|---|
| The membrane holds the roof together. | The membrane keeps water out. The framing below - joists, deck, connections - is what holds the roof together. A membrane on a failed frame is just a wet bandage. |
| Flat means level. | A code-compliant flat roof needs a minimum slope of ¼ inch per foot. "Flat" describes the visual profile from the street, not a perfectly horizontal surface. Level is a ponding problem waiting to happen. |
| Adding more roofing layers fixes a sagging roof. | Extra layers add dead load to a frame that's already deflecting under its existing weight. That makes the dip worse, not better. The fix is structural - not another layer of cap sheet. |
| Plywood alone creates structural strength. | Plywood is a diaphragm - it distributes load, but it doesn't carry it independently. Without properly spaced, sized, and connected joists beneath it, a plywood deck will flex, delaminate, and eventually fail regardless of thickness. |
Where slope is built into the frame instead of wished into existence
How wood framing creates pitch on a roof that looks flat
Three-eighths of an inch across eight feet is where I start paying attention. That's a fraction of an inch - barely visible to the eye on a bare deck - but get it wrong and you've created a low spot where water will pool after every rain, every snowmelt, every heavy dew. In Queens, rear additions are particularly vulnerable to this. Attached rowhouses, tight lot lines, and parapets that wrap three sides of a roof can hide slope problems completely from the sidewalk. The parapet looks sharp, the membrane looks clean, and inside the house a ceiling stain has been growing for two winters. The slope was never built in. It was assumed.
Here's the part homeowners usually get backwards: they think slope is something you add with tapered insulation or a coating. Sometimes you can correct minor drainage issues that way, but if the wood structure flat roof stage was done wrong, every layer after it is compensating - and compensation has a shorter lifespan than a correct frame. One August afternoon in Astoria, I was framing a rear addition when a summer thunderstorm came in fast, the kind that hits plywood like thrown gravel. I stood under a ladder rack and explained to the owner that if we don't build intentional pitch into this frame right now, no amount of tapered insulation above it is going to undo what gravity is already planning. He went from checking his phone to actually listening in about thirty seconds. Slope is a framing decision. Make it at the framing stage.
Connections, blocking, and the boring pieces that keep roofs from talking back
Bluntly: the pretty top layer is not the boss. I had a landlord in Elmhurst call me after sunset one November - tenants were reporting creaking over the top floor whenever the wind picked up. I got up there with a headlamp and found blocking skipped in two entire bays and fasteners placed like whoever did it was guessing in the dark. Blocking is, honestly, the least glamorous part of this job. It's the piece I always check first when a roof sounds wrong and the first thing I mistrust when a finished deck feels noisy underfoot. When people ask me how to build a flat roof structure, that Elmhurst night comes straight to mind - because what holds everything together is usually very boring until it isn't. Movement, uplift, and creaking almost always trace back to the same short list: missing blocking, weak or mismatched sistered joists, random nailing patterns, unsupported deck seams, or uneven bearing at the wall. Here's the insider piece worth remembering: before any membrane goes down, walk the bare deck. Listen for bounce. Feel for edge flex. Press at mid-span. The structure announces its problems early - and once the roofing layers go on, those announcements get buried.
- Mismatched sistered joists: Joining a 2×8 to a 2×6 to extend span capacity doesn't work the way some crews assume. Different depths mean uneven bearing, and that mismatch creates a hinge point exactly where you don't want one - under load, in the middle of the span.
- Skipped blocking at openings and edges: Every skylight curb, roof hatch, and parapet edge is an unsupported termination point unless blocking is installed. Skip it and the joist ends can rotate, the deck edge lifts, and the membrane tears at the flashing line - often within a year or two of installation.
- Random fastener spacing on the deck: Plywood fastened by feel rather than pattern leaves seams with inadequate holding power. Under thermal movement or uplift, those under-fastened panels shift and the membrane above splits at the joint - right where water is most patient.
- Unsupported deck seams: Plywood and OSB seams need to land on a joist or blocking. A floating seam deflects independently from the panels on either side of it. That differential movement is a membrane failure in slow motion.
- Assuming old framing is "close enough": Re-roofing over existing framing without checking joist condition, bearing points, and blocking is how a 10-year membrane ends up failing in four. Old lumber that's been wet, compressed, or partially sistered doesn't behave the way the new roofing layer expects it to.
A roof section behaves like a physics demo once snow, wind, and repairs start adding force
Why Queens roofs fail at edges, transitions, and old additions
A flat roof timber structure works a lot like a classroom lab table - if one leg is off, everything on top lies to you. Load concentrates at the weakest point in the span, not evenly across it. When a joist deflects, the deck above it dips, the membrane bridges the low spot, and then stress concentrates at the membrane's edges right where it's trying to stay flat. Owners see a bubble or a crack in the membrane at the transition between an addition and the main roof and blame the waterproofing. But that transition is usually where two framing systems with different deflection rates meet - and the membrane is just reporting the movement, not causing it.
Last winter on a corner house off Northern Boulevard - a two-family in Ridgewood - I was there at 7:10 in the morning, coffee still too hot to drink, when the owner told me the leak had to be "the rubber." I pulled back a section of membrane and found the real story: someone had sistered three joists with mismatched lumber - different depths, different species, nailed without proper bearing - and left a dip right where meltwater collected after every snowfall. The membrane above that dip was intact. It wasn't leaking because it had failed. It was leaking because it had been sitting under six inches of standing water through four freeze-thaw cycles, and no membrane is designed for that. The structure of a flat roof was the actual failure. The rubber just ran out of patience.
Water is not the problem - it's the receipt for a framing error.
A fixed low spot means the frame has a permanent condition - not a membrane failure. Probe for soft spots, check joist condition, and evaluate slope before scheduling any re-roofing.
Random or dispersed leak points are more likely to be membrane edge failures, flashing separations, or penetration failures. A targeted membrane inspection may be all you need.
Acoustic and visual movement in the framing means the assembly is working against itself. Get a structural assessment - specifically blocking, joist condition, and deck fastening - before any membrane work begins.
A stable, quiet deck with no structural symptoms is a good candidate for membrane repair or full replacement without structural intervention. Confirm with a deck walk before finalizing scope.
If the framing is wrong, the roofing layer cannot rescue it forever - and the longer you wait, the more of the building that gets involved in the failure. When you need a flat roof evaluated from the structure up, not just patched at the surface, call Flat Masters in Queens. We start at the frame and work our way out - because that's where the roof actually begins.
